As iTunes has evolved, it’s gotten easier to import audiobook CDs for later listening on your iPhone. It’s especially handy for library audiobooks, freeing one from the overhang of a due date. This is a guide to one way of doing it that’s worked well for me over the years. It’s written for iTunes 12.
There are three tasks: rip the CDs, put them in a smart playlist, and fix up the metadata. We’ll go over each one. My example is Ann Patchett’s State of Wonder, on 11 CDs.
Rip the CDs
Pro tip: library CDs tend to be mishandled, and sometimes don’t get read correctly. If that happens, try washing them. Warm water, a little dish detergent, rinse well, dry well, and try again.
1. Insert the first CD into your reader. iTunes will open it look up its metadata. Most audiobooks have metadata available, and some have more than one version. Choose the most likely-looking one if there’s more than one. We’ll clean it up later.
2. Select all the tracks, and choose the “Join CD Tracks” item from the Options menu, top right of the window. If you don’t see that item, try clicking the top of the leftmost column, the one with the track numbers in it, such that the tracks are ordered from 1 on.
3. Click the Import CD button, top right. You’ll need to choose Import Settings; I generally use the AAC encoder, and Spoken Podcast. Up to you…
4. Repeat steps 1–3 for the remaining CDs.
Create playlist
5. Once the first CD is imported, create a new smart playlist (File > New > Smart Playlist), with Album set to the album name, and a second criterion of “Plays is 0”.
Fix up metadata
6. When the CDs are first imported, they’re classified as music, so they’ll show up in iTunes’ My Music section, in case you need to track down any that (perhaps because of a bad album name) didn’t show up in your playlist. If the audiobook had no beta-data available in step 1, you’ll need to give them all an album name (the name of the book) first. Once everything is there, the playlist is where will be working on metadata.
7. Edit each ripped CD using Get Info on an individual CD, or for metadata that’s the same for every CD (like the album name), selected them all and then Get Info.
8. Metadata fields that should be the same (and correct) for all CDs: album (title of book), artist (author), composer (reader), genre (I use ‘audiobook’), year, track x of y (empty), number of disks. Uncheck the compilation box if it’s not already unchecked. If iTunes won’t let you edit one of these fields, do it on a CD-by-CD basis instead.
9. Metadata fields that are different for each CD: song name (I’ll name these “State of Wonder 1” through “State of Wonder 11”), and disk number. Use the forward button in the Info window to move from CD to CD.
10. Artwork. If iTunes doesn’t find the right artwork for the book, try Google Images. It’s generally pretty good at finding a usable image.
That’s it. Read books!
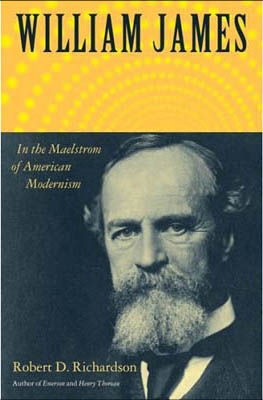
 I also wanted to mention a relatively recent (2006) biography, William James: In the Maelstrom of American Modernism. I picked up a hardcover copy from a bargain table in Minneapolis a year ago, and have been working my way through it ever since. It’s a reflection on my reading habits, not the quality of the writing, that a year later I’m only halfway through.
  I just finished listening to Neil Gaiman reading his own
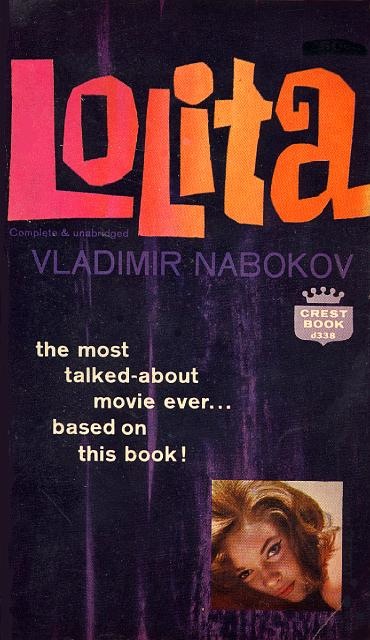
  This is my current copy, 1962 US Fawcett (Crest Books), Greenwich CT. There are some themes: movie stills, skin, Nabokov, plain brown wrappers.
 I’m always up for listening to Nicholson Baker, and his recent
  This time, though, my sister introduced me to